

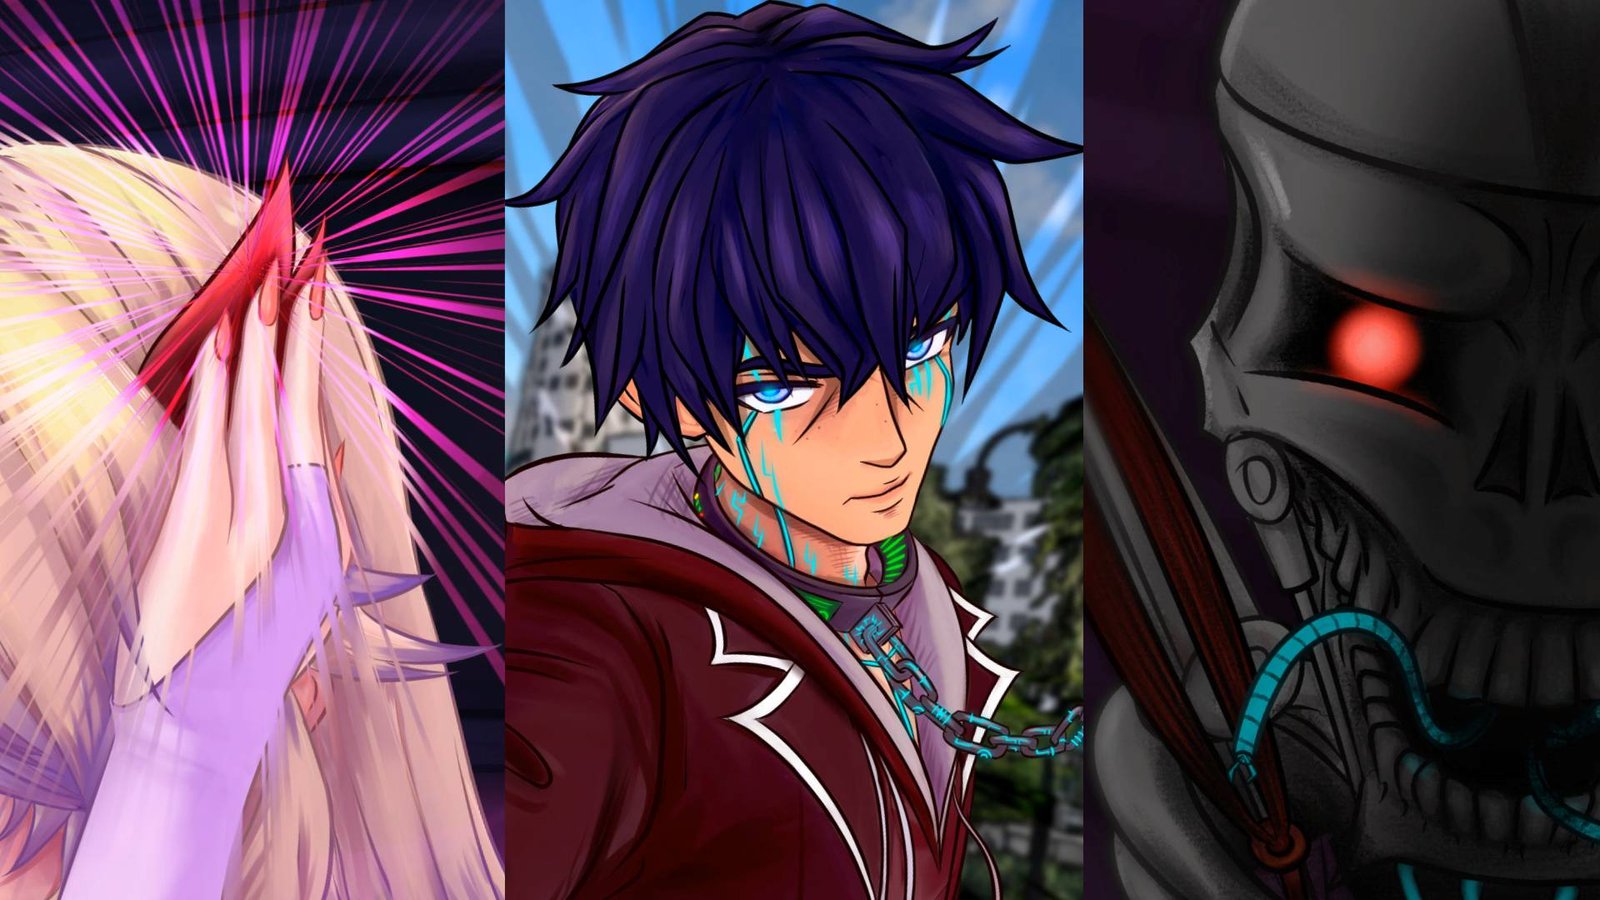

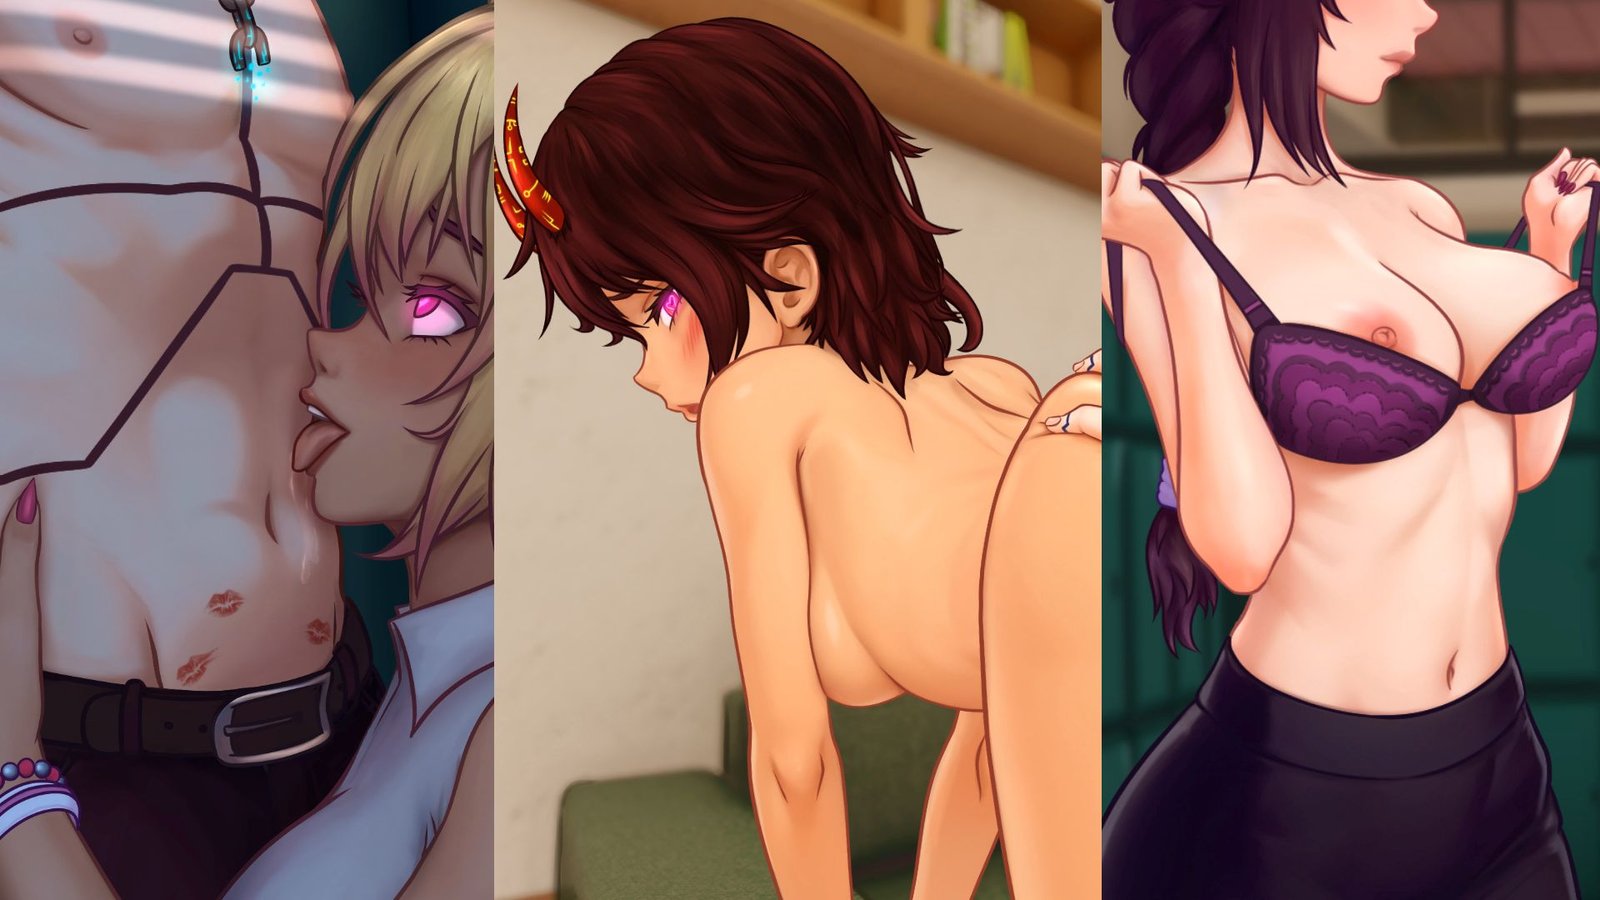
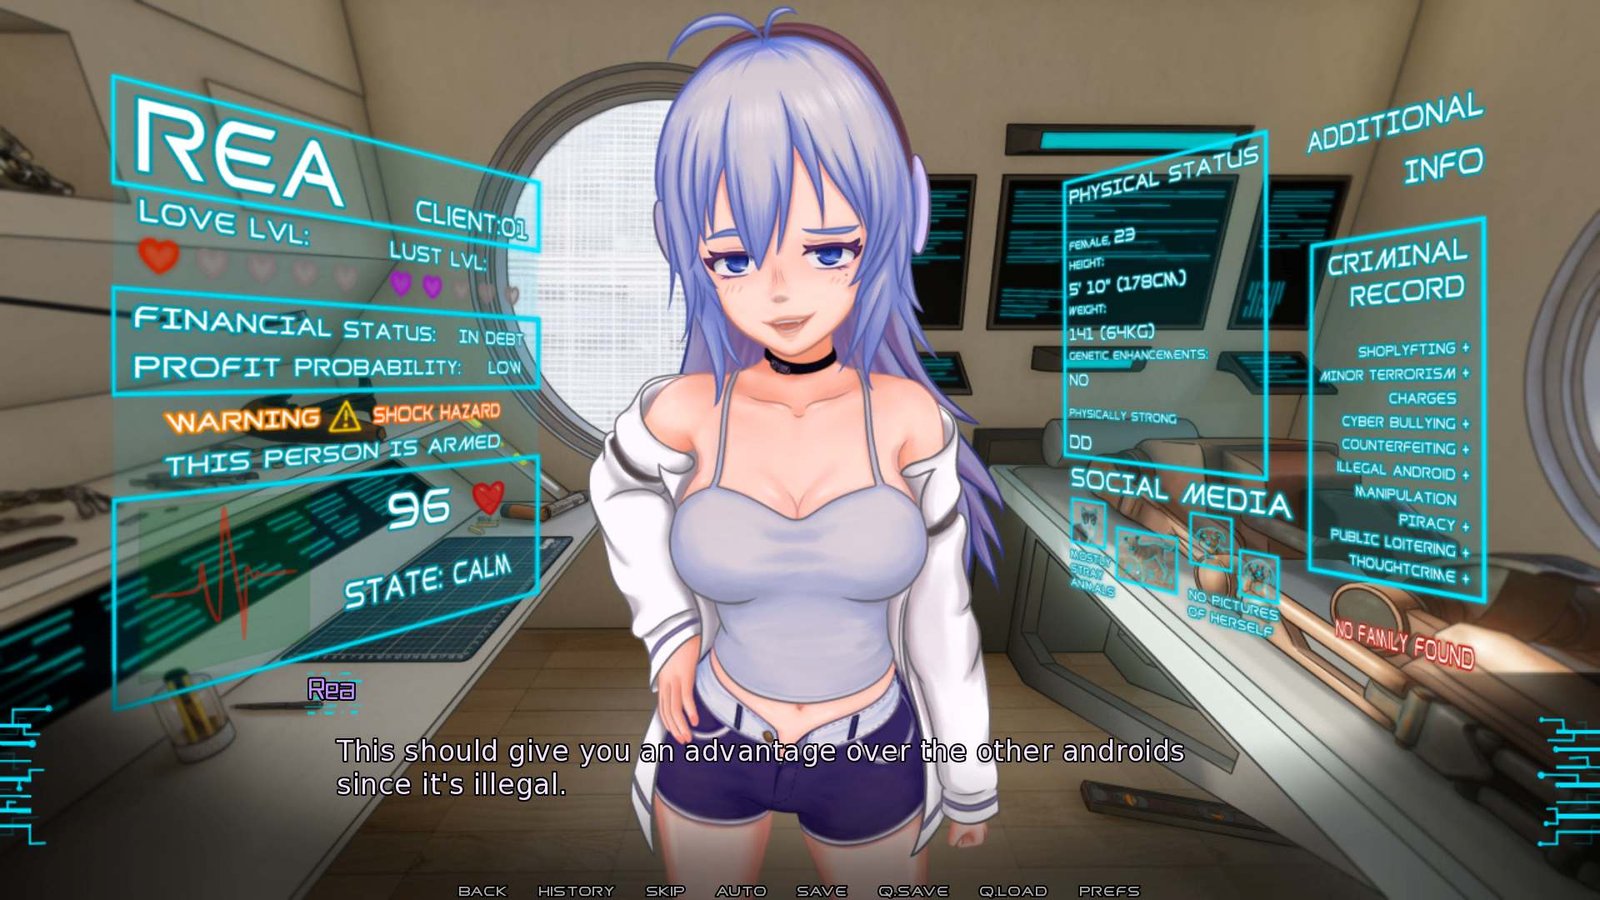
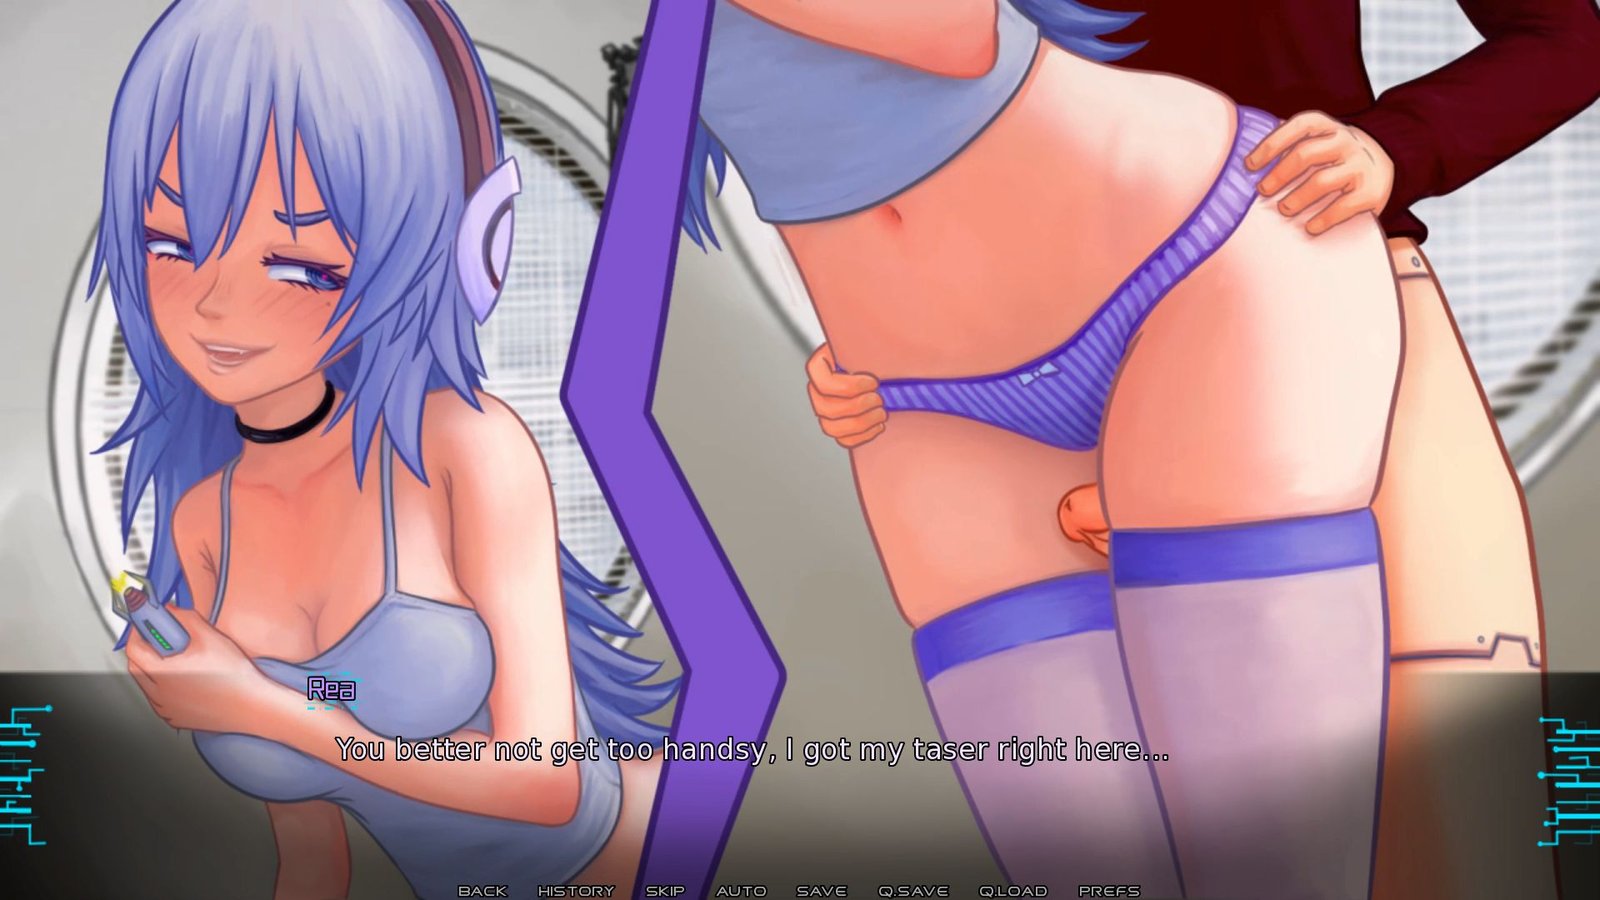
Just before you get hit by a truck, a strange light transports you into an unknown future. A strange girl saved your life, but this second chance doesn’t come for free… In the future, all men have died from a mysterious disease, and in the hope of filling the void left by men, women created a replacement, the androids. These machines are capable of doing all kinds of jobs, but their main objective is to replace men in slightly less conventional tasks. Your job now is to work as a rented android, doing whatever women ask you to do for money.
Installation:
1- Extract and run.
Developer: MateDolce
Censored: No
Version: v0.6
Language: English
Genre: 2DCG, Visual Novel, Animated, Male Protagonist, Male Prostitution, Femdom, Reverse Rape, Romance, Oral Sex, Handjob, Groping, Light Humiliation, Lesbian, Masturbation, Humor, Sexual Harassment, Sleep Sex, Stripping, Teasing, Voyeurism, Face Sitting, Exhibitionism, Mobile Game
v0.6
Like I said in the previous post, this update focuses mainly on Chapter 1, which has been almost entirely rebuilt from scratch. New backgrounds, CGs, sprites, animations, music, dialogue, additional scenes… pretty much everything had to be redone or improved. The good news is that most of the heavy lifting is finally out of the way!
As you can see in this roadmap (included in the game too), Chapter 1 was by far the most difficult part of this whole reboot. For Chapter 2, I’ll still need to remake some CGs and animations, but most of the assets are already finished, and the dialogue is pretty much ready (I just have to code the new sprites) . Chapter 3 should be even easier, since many of the animations can be improved simply by replacing the old assets and reusing the existing spine rigs.
And for the following chapters, most of the work will just involve smaller visual improvements, updating sprites, and fixing bugs (I’m dreading having to redo Laura’s minigame so it works on Android). So hopefully, each update will take less and less time until we’re finally caught up with the original game.
Download for Windows/ Linux
Download for Windows/ Linux - Compressed v0.5
Download for Mac
Download for Mac - Compressed v0.5
Download for Android - v0.5
- swipe down to hide the ui
- swipe left to roll back
- swipe right to start skipping of text
- swipe 2x left&right to open the game menu
- swipe up&down to toggle a small window with memory usage information
- longpress the save file thumbnail in the save/load screen to delete this slot
View Guide
(Game Version 0.5)
Walkthrough / Guide, since as far as I can see no one has made any for this game yet.
Sorry that it’s in text form. I have 0 modding experience, so I can’t make it a walkthrough mod. What I CAN do, however, is look through the code to see what all the choices actually DO. So ya, as I re-play through this game I’ll be writing down what each choice does.
NOTE ON GIRL AFFECTION STATS: The code has variables to track the girls’ affection to the player, however the ONLY girl stat that actually does anything in the game is Emily’s. lp_emi is the only variable that is actually checked anywhere in the code, and that’s twice in chapter 2, and it only changes some dialogue, that’s it. None of the other stats for the girls does anything yet. (This is as of version 0.5).
NOTE ON POSSIBLE GAME OVER: There’s a certain check in chapter 4 that, if you have 3 or more “suspicion” points, it’ll result in a game over. From a quick glance at the code, it looks possible to get 3 suspicion points before ever reaching this check, so if you’re not careful you could get locked into a game-over scenario without even knowing it. So this is your warning to avoid AT LEAST ONE of these suspicion checks.
NOTE ON ENDINGS: There are 3 Endings available in the 0.5 update. They are all pretty different/interesting, so I DO recommend seeing them all if you’re enjoying the story. Ending 1 is always available, Ending 3 depends on certain events being met, and Ending 2 depends on any ONE of those events NOT being met. I’ve posted ENDING WARNINGS before these events.
The first 2 chapters of the game are linear VN style, so I’ll just be listing the choices as they come up.
Choice 01: Lena, Ruri & Mia want to rent you in the classroom
– Option 1: Stay still and let her pay you…
Immediate outcome: Leads to Ruri BJ scene. flag01_bully = TRUE
Future outcome: Skips locker scene with Emily. Leads to chapter 2 Ruri scene.
– Option 2: Refuse payment…
Immediate outcome: Skips the Ruri BJ scene. flag01_bully = FALSE
Future outcome: Leads to locker scene with Emily. Leads to chapter 2 Emi kiss scene. Will add +1 to chapter 4 suspicion check.
NOTE: The flag01_bully flag determines whether you get a Ruri or Emi scene in chapter 2. It also changes how some dialogue plays out throughout the game, and will make a certain check in chapter 4 harder (suspicion check) if set to FALSE.
Choice 02: Rea is asleep, do you grope her?
– Option 1: Continue…
Immediate outcome: Leads to Grope Rea scene. Skips checking out Rea’s PC
Future outcome: Kana reading scene can be either NORMAL or EROTIC (based on future choice).
– Option 2: Leave her.
Immediate outcome: Skips Grope Rea scene. Leads to checking out Rea’s PC
Future outcome: Kana reading scene will be EROTIC and involve her stripping.
Day 1 will now be over.
—
ENDING WARNING: At the end of day 2, Rea will check your collar to see how much you made. If you got less then 200 credits you’ll be locked out of getting Ending 3 during Chapter 5. If you want to have the option to get all 3 endings easier, make sure to have 200 or more credits when she checks your collar at the end of the day.
Choice 03: Day 2 class is over, the bullies will be looking for you, what do you do?
– Option 1: Hide
Immediate outcome: Leads to Kiss scene between Ruri and Lena.
Future outcome: Kana reading scene will be EROTIC
– Option 2: Leave the classroom
Immediate outcome: Leads to Kiss scene between you and Lena. Lena declares herself your girlfriend.
Future outcome: Kana reading scene will be NORMAL if you groped Rea, or EROTIC if you didn’t grope Rea. Will add +1 to chapter 4 suspicion check.
After all the scenes, you’ll end the day back at Rea’s apartment where she’ll check your credits. 200 credits or over will result in a thighjob scene. Under 200 credits will lock you out of the possibility of seeing Ending 3.
—
Chapter 3: Start of Free Roam
Ok this change to a sandbox free-roam is going to make writing the walkthrough pretty annoying… but I’ll try.
You’ll start the day in the bedroom.
Go into the living room and talk to Rea. You’ll be given dialogue options. Pick any, you need to pick them all anyways.
Goto school, 2F, enter classroom to start the lessons.
NOTE: For this next section… After talking to Lena OR Emi, you’ll go back to class for another class lesson scene. This does NOT mean you miss out on the other scenes. After this class lesson, you’ll be back in the classroom to explore further. Nothing here can be missed (except the Lena non-GF scene if Lena’s your GF, and the Lena-GF scene if Lena is NOT your GF)
You start in the classroom.
If you’re on the Lena GF route, she’ll be here to talk to. Talk to her.
Exit the classroom to the 2F Hallway
Talk to Ruri in the 2F Hallway.
In the 2F Hallway, click EXPLORE, then ENTER to enter the other classroom.
Talk to Emily. Her dialogue will have 3 choices, but they do NOT affect any scenes, so pick any you want.
If you’re NOT on the Lena-GF route, then go back to 2F Hallway, and go DOWN the stairs, then RIGHT to meet Lena.
After you have finished the above scenes, exit the school to meet Laura. Pick any of the 3 options, they do NOT affect any scenes.
The story gets pretty linear here, so just follow it.
—
The next day starts with you arriving at school. Your only option is to go up to the classroom. This is where we learn our classroom is actually on the THIRD floor, not the 2nd floor, so the walkthrough from here on will account for that.
Once the class lesson is over, you’ll be in the classroom again.
Ruri is at her desk. You can’t talk to her yet. You have to first get advice from other girls. You only NEED to talk to Laura and Kana.
Laura is in the 3F hallway. Her scene is required to progress.
Emily is in the 3F other classroom (near Laura). Talking to her will upset her and change some future dialogue, but from what I can gather, no actual scenes are affected (as of 0.5). You can skip talking to her if you don’t want to upset her.
Kana is in the 1F hallway. Her scene is required to progress.
Lena is in the school yard. Talking to her will upset her and change some future dialogue, but from what I can gather, no actual scenes are affected (as of 0.5). You can skip talking to her if you don’t want to upset her.
Once you’ve talked to Laura and Kana, you can talk to Ruri in the 3F classroom.
Ruri’s dialogue is linear. You have options, but you have to pick them all anyways before the scene will continue.
Once the scene is done, you’re alone in the meeting room. Exit the room and another scene will begin, taking you through the next class lesson.
After the lesson, you’ll be confronted by Ms Luna. There are dialogue options here, but like last time, you have to pick them all anyways before the scene will continue.
You’ll end up in a handjob minigame, with the options to ask Ms Luna to speed up or slow down.
NOTE: If you cum during this scene, it will make a certain check in chapter 4 harder (adds +1 to suspicion check).
– The “Standard” outcome, where you play along with Ms Luna’s teacher-student roleplay.
– The “Victim” outcome, where you don’t play along and Ms Luna tries to rape you.
– The “Illicit” outcome, where you enter an illicit relationship with Ms Luna…?
These general routes also can have other variables on or off, depending on how compliant you are with Ms Luna and how you “finish”. These varaibles include:
– If the girls end up seeing your dick.
– If Ruri explains to the girls about the magnetic screwdriver.
– If you cum, either in Luna’s mouth, on her face, or on her blouse.
– If your actions with Ms Luna hurt Emily and Lena’s feelings.
From what I can make of the code, there are 14 variations, and there’s multiple ways to reach each… It’ll take me a LONG time to map them all out, so I’m going to skip this part for now, sorry. I DID map three of them out, so if you don’t want to play with saving/reloading yourself to find an outcome you want, you can pick between:
– You are somewhat reluctant, Luna gets mad, Luna makes you cum by force, the girls don’t see your penis, Laura uses a molotav: Speed up, Speed down x 3, choose “Ok.”
– Luna is mad and thinks you’re gay, the girls don’t see your penis, Luna tries to kidnap you: Speed up, Speed down x 3, choose “No, we should stop.”
– Luna is impatient, the girls see your penis, Laura interrupts Luna: Speed down x 2, choose “That’s not what I said.”, Speed up, Speed down.
It took me literally hours just to map out these 3 choices, and I want to continue with the game/walthrough so ya, that’s all I’m doing for this mini-game for now. I may circle back to it after I finish playing this update.
After the handjob scene, continue with the game. Eventually you’ll end up in a car with Mia’s mother, and you have to manage her suspicion level. She’ll ask you a series of questions. Getting it wrong will raise her suspicion level.
NOTE: Your suspicion level must stay at 2 or lower. Anything 3 or above will be a game over.
Question: What is the first law of robotics?
Answer: Don’t harm humans (2nd choice)
Question: What is the second law of robotics?
Answer: Obey human commands (1st choice)
Next is a branching point based on if you came during Luna’s handjob scene.
If you came:
– +1 to suspicion
– Question: “Why did your creator give you a penis?”.
– Answer: Either pick “There is no such thing as bad publicity” or let timer run out.
If you didn’t cum:
– Question: Does your model include male genitalia?
– Answer: Either pick “Negative.” or let the timer run out.
If you chose to leave the classroom in day 2 (instead of hiding in the locker) and had the scene with Lena, Mia will comment on Lena’s attitude shift, and this will raise her mother’s suspicion and give you +1 to suspicion.
Next, Mia’s mother will ask you what Rea’s motivation is.
Question: What is Rea’s motivation?
Answer: Let the timer run out. All answers raise suspicion.
After you survive the encounter with Mia’s mother, you’ll end up in a scene with *another* mini-game. This time questioning Mia. I already did a guide for this back in 2023, so thankfully I can just pull those answers for this.
ENDING WARNING: Succeeding in Mia’s Topic Mini-Game is one of the prerequisites of unlocking Ending 3 at the end of Chapter 5. If you want to have the option to get all 3 endings easier, make sure to win this mini-game (by maxing your “understanding” of her).
Emily – Forbidden – Bonds – Rea – Myself – Android – Spy – School – Life – Clone – Horn – N 82 – Lena – Ruri – Friends – Mother – Duty – Family
At this point you’ll have Orphan, Love and Vessel left. Each of these will put you in a lie-detector mini-game. Here are the correct responses:
ORPHAN
Did she really see her mother that often? – False
Does she really have no affection for her sisters? – True
Mia says she doesn’t want a family, is that true? – False
LOVE
Is it true Mia has never experienced love? – True
Is it true Mia doesn’t have lewd thoughts? – False
Is it true that Mia doesn’t have any affection for her friends? – False
VESSEL
Is Mia ok with mother taking over body? – True
Will Mia really be ok if they replace her body? – False
Is the body being used by mother the original? – False
After that, more scenes will play out. You’ll end up back at Rea’s apartment.
For the scene with Rea, each option changes how the immediate scene plays out, but currently only one option affects future stuff (but only some dialogue), and that’s the Romance option. So pick whatever you want.
—
Next day after class, you have to chase after Kana, which leads to another sandbox section. The dev also changed how the locations are presented. Now you have to actually hover over a door to see the “Enter” text to know you can actually enter it. Pretty annoying, ngl.
Your goal is to talk to all the girls to gather information on the mysterious letter.
You need to talk to Ruri, Lena, Emily, and Luna to continue. You can choose any order to talk to them, it only makes a very minor dialogue difference in some scenes. If you want to do the scenes in the order they were released, I BELIEVE it’d be Luna, Ruri, Lena, Emily.
Where to find the girls:
– Ruri and Ms Luna are back in your original classroom.
– Lena is in the gym, you can find it if you go outside.
– Emily is in the second classroom on the same floor as the classroom Luna and Ruri are in.
Luna has no scene, just dialogue.
Lena has a scene, but no options to pick so nothing for me to cover.
Ruri has a mini-game where you try and get coins from her. NOTE: You can NOT scroll back to reset Ruri’s mini-game. You can only scroll back when in the dialogue portions, so save before the mini-game activates if you want to savescum from the beginning.
Emily’s scene will involve, yes, another mini-game. She will ask you a question, then you get to ask her one from a multiple choice selection.
Once you’ve finished talking to all of the girls above, Laura’s detention scene will trigger. You’ll eventually be given an option to either SPY or CHECK ROOM
SPY: You spy on Luna undressing while having a conversation with another teacher.
CHECK ROOM: You look into the detention room for Laura.
You can do both by choosing SPY, as it’s a free event that just leads to CHECK ROOM anyways. It DOES flag a “ch05_lunaspy” variable, but that variable currently does nothing in the code.
In the detention room, after talking with Laura you’ll start… yes… another Mini-Game.
ENDING WARNING: Succeeding in Laura’s Body Search Mini-Game (getting her arousal to 60) is one of the prerequisites of unlocking Ending 3 at the end of Chapter 5. However, if you also succeeded in the other requirements for Ending 3 (getting Rea’s thighjob scene and hugging Mia), then passing this one as well will lock you out of seeing Ending 2. Therefore, be sure to make a SAVE here so you can load it later and get the other ending if you want to see both.
This game involves you searching Laura for whatever she is hiding.
Frisking costs 1 credit per action
Seaching costs 3 credits per action
The general idea is to frisk her in places, and if you notice something, then search her there. You want to find all the items she’s hiding while getting her aroused by your searching. If you remove a piece of clothing, any items in that piece cannot be found any more, and any arousal she coud have gained by searching that piece of clothing is also lost.
The valid locations you can search her are clothing-specific. For example: Searching her arms when she’s wearing her jacket is different from searching her arms when she’s just wearing her sweater.
You start the mini-game with 50 credits from Laura, as well as however many of your personal coins that you got from Ruri’s mini-game earlier, which each will add 10 credits if used.
During the game, you can find coins and bills hidden on Laura’s body. From my count, she is hiding 160 credits on her body. So without using any of your personal coins, you have 210 credits to work with. This is more then enough, as even with my non-optimal testing I ended the mini-game with Laura’s arousal maxed and 142 credits left over.
DIALOGUE
This mini-game has a LOT of dialogue between you and Laura. Generally speaking, frisking the same area will have new dialogue up to two times (in some places three times) before the dialogue starts repeating. If you frisk a location and Laura and you banter about it, she probably has more dialogue if you frisk that place a second time.
Searching generally only has one dialogue block. Searching the same place twice will only result in you thinking that you’ve searched that place already, or performing the search again but finding nothing.
AROUSAL
The game has checks up to 60 arousal. Most are just dialogue checks, but the last one is the check to determine whether you actually fuck Laura or not, so that’s the one that matters.
By a quick count, assuming what I’ve written down is correct, you’ll get 40 arousal from frisking/searching, and then 20 arousal from the Deep Search afterwards, which makes up your 60.
There is one frisk near the end that is repeatable (after taking her bra off) and gives +1 arousal each time. So if you have extra credits and are lacking arousal, you can exploit this. I assume this is a mistake on the dev’s part, because there are NO other repeatable actions that give arousal except this specific one.
You want to frisk a location once, and if you feel something, use search. OR you can frisk a 2nd time to get a better idea of what it may be (or to just get more dialogue). Don’t waste credits searching the same area twice tho, from what I can see there is no benefit to searching somewhere twice.
NOTE: The directions are written as per the PLAYER’S view, not Laura. In other words, when she’s facing you, “Left arm” is the arm on the left as you are looking at her, NOT her actual left arm (which would be on the right side if you’re looking at her). Left is always left side of screen, right is always right side of screen.
Credits can be found in the following locations (remember to check front and back BEFORE removing a piece of clothing):
FRONT VIEW
– Left side of beret – 10 credits
– Right Jacket collar – 10 credits
– Lower right skirt – 10 credits
– Sweater collar (jacket off) – 10 credits
– Bra cleavage (sweater off) – 50 credits
BACK VIEW
– Right side of beret – 10 credits
– Left bra strap – 10 credits
– Right side of panties – 50 credits
Items that can be found (remember to check front and back BEFORE removing a piece of clothing):
– Maxipad – Jacket right pocket
– Cutter – Strapped to right arm (take off jacket & sweater)
– Rope – Tied around waist (take off jacket & sweater)
– Remote – In panties waistband (take off skirt)
– Baton – Strapped to back (take off jacket & sweater)
– Lockpicks – Strapped around left leg (take off skirt)
– Pasties – On nipples (take off jacket, sweater and bra)
NOTE: The directions are written as per the PLAYER’S view, not Laura. In other words, when she’s facing you, “Left arm” is the arm on the left as you are looking at her, NOT her left arm (which would be on the right side if you’re looking at her). Left is always left side of screen, right is always right side of screen.
This guide is NOT telling you to do every action listed below. This is just a reference to show what each location has. You can choose to frisk/search a location or not. The only reason to frisk a location that has nothing in it is for potential extra dialogue with Laura.
FRONT VIEW
    Beret
        Front Right
            Frisk - Just a horn
            Search - Just a horn
        Front Left
            Frisk - Feel something
            Search - 10 credits
    Jacket
        Lower Right
            Frisk - Inside pocket, feels a little puffy
            Search - Maxipad
        Lower Left
            Frisk - Inside pocket, too flat to have anything
            Search - Nothing
        Boob Right & Left
            Frisk - Nothing. +1 arousal (total between both boobs, up to max 3)
            Search - Nothing. +1 arousal (per boob, so +2 max)
        Arm Right & Left
            Frisk - Nothing
            Search - Nothing
        Wrist Right
            Frisk - Feel something hard
            Search - Nothing
        Wrist Left
            Frisk - Nothing
            Search - Nothing
        Collar Right
            Frisk - Notice pin, feel something else
            Search - 10 credits
        Collar Left
            Frisk - Nothing
            Search - Nothing
    Skirt
        Upper Right
            Frisk - Feel something
            Search - Feel something, have to undress her
        Upper Left
            Frisk - Nothing
            Search - Nothing
        Lower Right
            Frisk - Feel something in pocket
            Search - 10 credits
        Lower Left
            Frisk - Feel something large, have to take off skirt
            Search - Nothing
        Pussy
            Frisk - Nothing. +1 arousal (up to 2 times, shares count with back view)
            Search - Nothing. +1 arousal (once)


BACK VIEW
    Beret
        Right
            Frisk - Feel something rattling
            Search - 10 credits
        Left
            Frisk - Just a horn
            Search - Still just a horn
    Jacket
        Collar
            Frisk - Nothing
            Search - Nothing
        Left & Right Arms
            Frisk - Nothing
            Search - Nothing
        Back
            Frisk - Feel a rod/short tube
            Search - Something under sweater, have to remove jacket
    Skirt
        Lower Back
            Frisk - Nothing. +1 arousal (once)
        Bum Right & Bum Left
            Frisk - Nothing. +1 arousal (total between both bums, up to max 2)
            Search - Nothing. +1 arousal (once, right bum ONLY)
        Pussy
            Frisk - Nothing. +1 arousal (up to 2 times, shares count with front view)
            Search - Nothing. +1 arousal (once)


FRONT VIEW

Take off Beret
Take off Jacket
Take off Skirt

    Head
        Horn Left & Right
            Frisk - Nothing. +1 arousal (after THIRD frisk only)
            Search - Nothing. -1 arousal. How dare you try to pull off her horn! Rude!
    Sweater
        Collar
            Frisk - Something. +1 arousal (up to 2 times)
            Search - 10 credits. +1 arousal (once)
        Boob Right
            Frisk - Nothing. +1 arousal (shared between boobs), +1 arousal (second time, not shared)
            Search - Nothing
        Boob Left
            Frisk - Nothing. +1 arousal (shared between boobs), +1 arousal (second time, not shared)
            Search - Nothing
        Sweater Waist Left & Right
            Frisk - Feel something
            Search - Rope, but have to take off sweater.
    Panties
        Right
            Frisk - Obviously something there.
            Search - Remote. +1 arousal (once)
        Left
            Frisk - Nothing
            Search - Nothing
        Pussy
            Frisk - Nothing. +1, +2, +3 arousal (for a total of +6 after three frisks)
            Search - Nothing. +2 arousal (once)


BACK VIEW
    Sweater
        Collar
            Frisk - Nothing
            Search - Nothing
        Back
            Frisk - Feel something
            Search - Feel something, have to remove sweater.
    Panties
        Bum Right & Left
            Frisk - Nothing. +1, +2 arousal (for a total of +3, shared with both bums)
            Search - Nothing
        Anus
            Frisk - Nothing. +1 arousal (on the SECOND frisk only)
            Search - Nothing
        Pussy
            Frisk - Nothing. +1 arousal (up to 2 times)
            Search - Nothing. +1 arousal
        Bill in Panties
            Frisk - 50 credits


FRONT VIEW

Take off Sweater

    Bra
        Upper Strap Left & Right
            Frisk - Nothing
            Search - Nothing
        Boob Left & Right
            Frisk - Nothing
            Search - Nothing
        Cleavage
            Frisk - Ignoring the bill. +1 arousal (up to 2 times)
            Search - 50 credits
        Bra Lower Strap
            Frisk - Nothing
            Search - Nothing

BACK VIEW
    Bra
        Baton
            Frisk - Yep, it's a baton
            Search - Baton.
        Right Strap
            Frisk - Nothing
            Search - Nothing
        Left Strap
            Frisk - Maybe something?
            Search - 10 credits

FRONT VIEW

Take off Bra

    Boobs (with Pasties on)
        Frisk - Nothing. +1 arousal (seem to be able to repeat this forever)
        Search - Pasties get! +1 arousal

    Boobs (with Pasties off)
        Frisk - Unlock "Deep Search" mode if not already unlocked
        Search - Unlock "Deep Search" mode if not already unlocked

Take off Panties
With both Bra (and pasties) and Panties off, she should be totally naked. You should have two new options, “Deep Search” on her boobs, and “Cavity Search” on her pussy.
Deep Search: From looking at the code, it doesn’t look like any of these options affect arousal individually, it just gives a big dump of +20 arousal at the very end, so pick any combination of options you want!
Once Deep Search is done, you can do the Cavity Search. As long as her arousal is above 60 by this point, you’ll end up fucking Laura. If she has under 60 arousal, you’ll get a buttjob from her.
After dealing with Laura you’ll then search out Mia, who is your last option for who wrote the letter. After finding her and talking to her, you’ll end up inside her psyche, confronted by her mother’s.. Imprint? (ya, wild, eh?), which a choice to either CHALLENGE it, MODIFY Mia’s behaviour, or LEAVE Mia’s mind.
CHALLENGE will be a “soft” bad end. You lose, but instead of a game over, it just boots you out as if you clicked “Leave Mia’s Mind” (but with different dialogue).
MODIFY will allow you add ONE mental trigger to Mia’s behaviour. It will give you a list of 4 to pick from (and an option to not pick any if you want to back out). You’re only able to pick 1, so if you want to, choose wisely. NOTE: In the current version of the game (0.5), this does NOTHING. As far as I can tell, no code checks this trigger currently, so it’s probably for a future update.
LEAVE will leave Mia’s mind.
You’ll finish your conversation with Mia, and leave the classroom.
You’ll then meet up with Kana. After her scene, you’ll be given a choice to either accept her order, or resist it and take her knife at the cost of 1 coin. Roll back once and SAVE HERE, for this is the last choice before the ending credits. There are 3 endings:
Ending 1: Accept her orders
Ending 2: Resist (if Rea punished you by biting your ear OR you kissed Mia OR you did NOT have sex with Laura. Only 1 of these is needed.)
Ending 3: Resist (if Rea rewarded you with a thighjob AND you hugged Mia AND you had sex with Laura. All 3 need to be true.)
And that’s it for update 0.5. Obviously if you guys notice any glaring errors, let me know so I can fix them.






Anonyanmous
I mean, I know some people are into sub/dom play but come on man, have a little bit of self respect for yourself
GLaDoS
Good people don’t end up here.
Anonymous
“reverse rape” nigga that’s just rape you fag
Anonymous
A delightfully progressive comment. Look out, they don’t like proper logic around here.